概述
greenplum的一个web界面的监控系统。可以监控数据库的一些状态,节点信息
下载
下载greenplum cc的方法有限,我的途径是通过
https://network.pivotal.io/products/pivotal-gpdb
这个网站,可以下载对应版本的grennplum cc。ps:需要相应的账号
安装前准备
安装gpperfmon数据库,以及为gpmon用户创建密码
gpperfmon_install --enable --password 123456 --port 5432
这个命令是在greenplum安装完成的时候就已经有的,如果是编译安装,编译的时候一定要加—enable-gpperfmon这个参数,才能保证有这个命令。
功能大致是:
创建greenplum监控用数据库(gpperfmon)
创建greenplum监控用数据库角色(gpmon)
配置greenplum数据库接受来自perfmon监控的链接文件(pg_hba.conf和.pgpass)
设置postgresql.conf文件,增加启用监控的参数。(这些参数默认会添加在文件的末尾)
设置pg_hba.conf文件,增加如下信息:
local gpperfmon gpmon md5host all gpmon 127.0.0.1/28 md5
重启数据库
gpstop -r
检查是否成功
[gpadmin@mdw ~]$ ps -ef | grep gpmmongpadmin 24206 24197 0 16:03 ? 00:00:01 /usr/local/gpdb-5.6/bin/gpmmon -D /gpdata/gp-5.6/master/gpseg-1/gpperfmon/conf/gpperfmon.conf -p 5432gpadmin 30123 20766 0 17:40 pts/0 00:00:00 grep gpmmon[gpadmin@mdw ~]$[gpadmin@mdw ~]$ psql -d 'gpperfmon' -c 'select * from system_now;'ctime | hostname | mem_total | mem_used | mem_actual_used | mem_actual_free | swap_total | swap_used | swap_page_in | swap_page_out | cpu_user | cpu_sys | cpu_idle | load0 | load1 | load2 | quantum | disk_ro_rate | disk_wo_rate | disk_rb_rate | disk_wb_rate | net_rp_rate | net_wp_rate | net_rb_rate | net_wb_rate---------------------+----------+------------+-----------+-----------------+-----------------+------------+-----------+--------------+---------------+----------+---------+----------+-------+-------+-------+---------+--------------+--------------+--------------+--------------+-------------+-------------+-------------+-------------2018-10-16 17:40:30 | mdw | 1968324608 | 831598592 | 120971264 | 1847353344 | 1073737728 | 20869120 | 0 | 0 | 0.07 | 0.07 | 99.87 | 0 | 0 | 0 | 15 | 0 | 2 | 0 | 8001 | 8 | 7 | 1788 | 1823
确定无误后,就可以安装了
启动安装gpcc
生成安装目录
我下载的是可执行二进制文件。所以直接赋权运行即可。
在这之后,会需要指定一些默认安装目录等信息。不作赘述,按照步骤就可以
[root@mdw gpdata]# ./greenplum-cc-web-3.3.1-LINUX-x86_64.bin********************************************************************************You must read and accept the Pivotal Greenplum Database end user licenseagreement before installing*********************************************************************************** IMPORTANT INFORMATION - PLEASE READ CAREFULLY ***PIVOTAL GREENPLUM DATABASE END USER LICENSE AGREEMENTIMPORTANT - READ CAREFULLY: This Software contains computer programs andother proprietary material and information, the use of which is subject toand expressly conditioned upon acceptance of this End User LicenseAgreement ("EULA").This EULA is a legally binding document between you (meaning the person orthe entity that obtained the Software under the terms and conditions ofthis EULA, is agreeing to be bound by the terms and conditions of thisEULA, and is referred to below as "You" or "Customer") and Pivotal (meaning(i) Pivotal Software, Inc., if Customer is located in the United States;and (ii) the local Pivotal sales subsidiary, if Customer is located in acountry outside the United States in which Pivotal has a local salessubsidiary; and (iii) GoPivotal International Limited, if Customer islocated in a country outside the United States in which Pivotal does not..............
赋予权限
可以看一下生成的一些文件
[root@mdw gpdata]# ls /usr/local/greenplum-cc-web-3.3.1/usr/local/greenplum-cc-web-3.3.1:bin etc gpcc_path.sh gp-wlm-1.8.3-x86_64.bin instances lib open_source_licenses_GPCC.txt www
这些文件,需要赋予一些权限,就是gpadmin用户的权限
修改文件的属组
# chown -R gpadmin:gpadmin /usr/local//greenplum-cc-web-3.3.1
加载环境配置文件
#source /usr/local/greenplum-cc-web-3.3.1/gpcc_path.sh
最好是要写在环境变量的环境中的
也需将配置安装目录的bin目录定义到环境变量里,方便后面的安装
分发安装包到所有的子节点
gpccinstall -f all_segs
这里这个命令的all_segs 是写了所有segement节点信息的文件。
如果该命令没有执行成功
也可以用scp直接将安装包拷贝到子目录,但是需要注意权限要赋予。
初始化gpcc
[gpadmin@mdw ~]$ gpcmdr --setupThe instance name identifies the GPDB cluster this Greenplum Command Center web UI monitors and controls.Instance names can contain letters, digits, and underscores and are not case sensitive.Please enter the instance nametestThe display name is shown as the "server" in the web interface and does not need to bea hostname.Display names can contain letters, digits, and underscores and ARE case sensitive.Please enter the display name for this instance:(Press ENTER to use instance name)testA GPCC instance can be set to manage and monitor a remote Greenplum Database.Is the master host for the Greenplum Database remote? Yy/Nn (default=N)nWhat port does the Greenplum Database use? (default=5432)Enable kerberos login for this instance? Yy/Nn (default=N)nCreating instance schema in GPDB. Please wait ...The Greenplum Command Center runs a small web server for the UI and web API.This web server by default runs on port 28080, but you may specify any available port.What port would you like the new web server to use for this instance? (default=28080)Users logging in to the Command Center must provide database usercredentials. In order to protect user names and passwords, it is recommendedthat SSL be enabled.Enable SSL for the Web API Yy/Nn (default=N)Copy the instance to a standby master host Yy/Nn (default=Y)nDone writing webserver configuration to /usr/local/greenplum-cc-web/instances/test/webserver/conf/app.confCreating instance at /usr/local/greenplum-cc-web/instances/testGreenplum Command Center UI configuration is now complete.To change parameters of this instance, edit the configuration fileat /usr/local/greenplum-cc-web/instances/test/webserver/conf/app.confTo configure multi-cluster view, edit the configuration file at /usr/local/greenplum-cc-web/instances/test/conf/clusters.confThe web UI for this instance is located at http://mdw:28080You can now start the web UI for this instance by running: gpcmdr --start test
初始化成功之后就可以启动服务了
[gpadmin@mdw ~]$ gpcmdr --start testStarting instance test ...Greenplum Command Center UI for instance 'test' - [RUNNING on PORT: 28080, pid 20836][gpadmin@mdw ~]$
登录到web界面
在网站中输入IP地址+端口号
如192.168.2.61:28080
直接就可以到达登录界面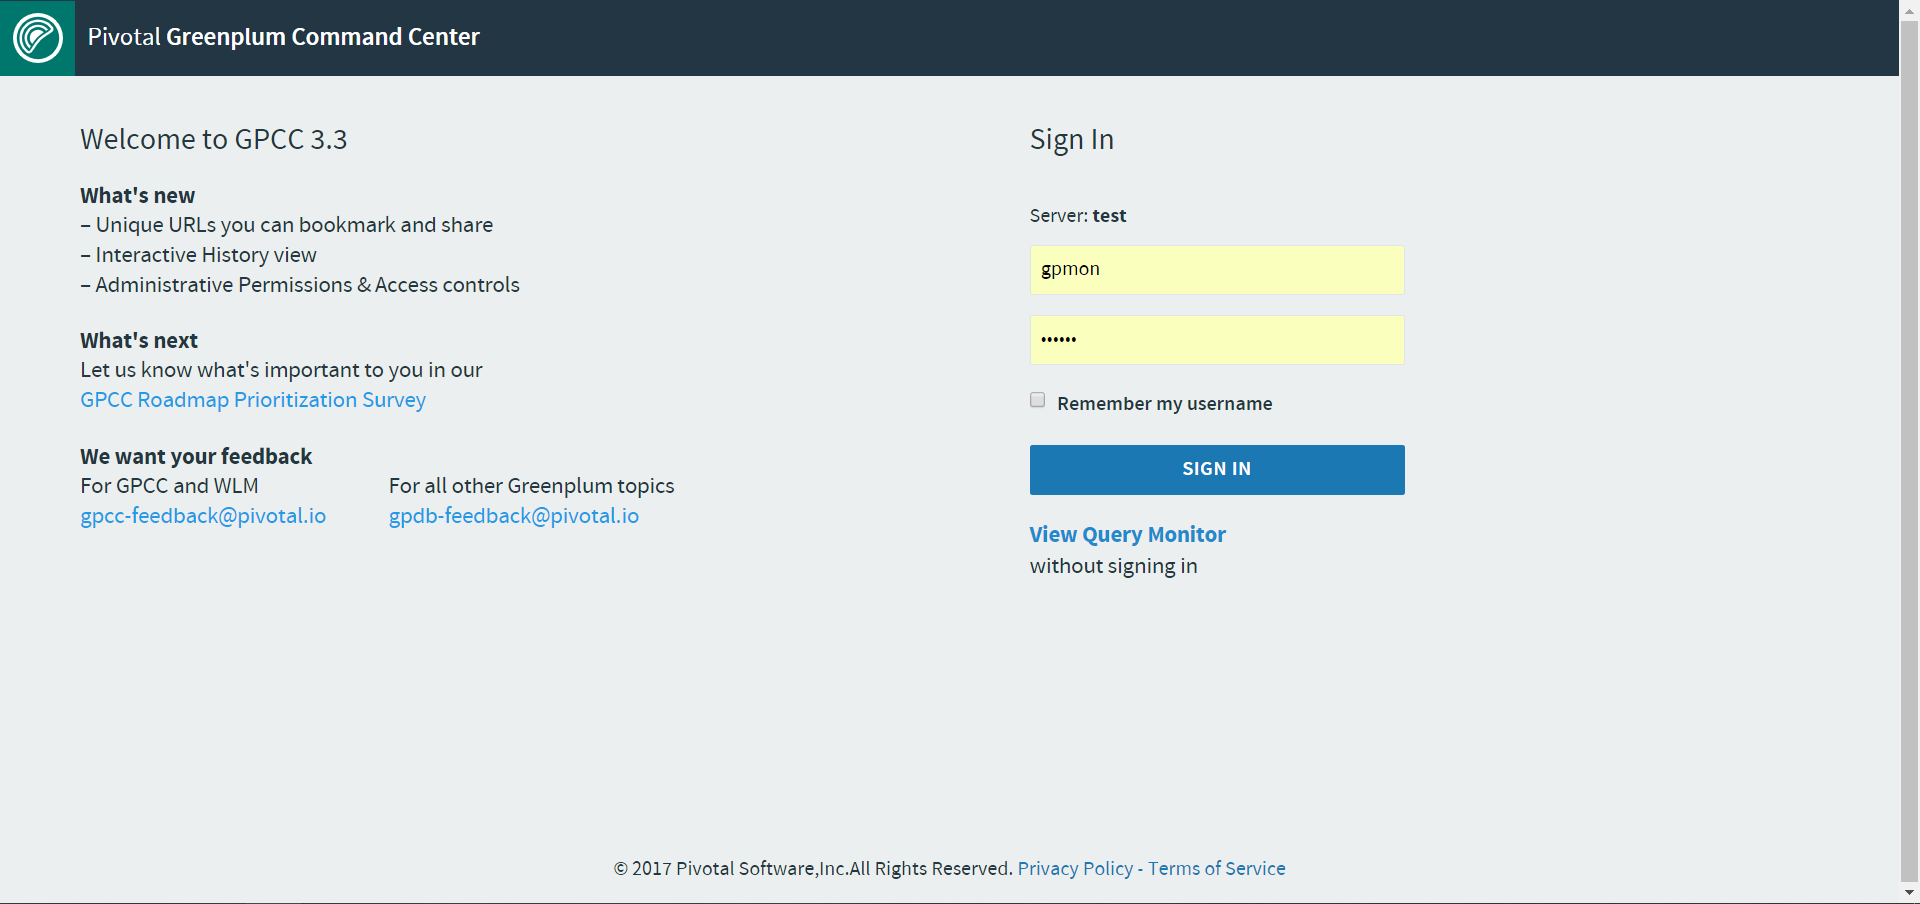
这里就可以登录了。账户是个gpmon密码是在创建这个用户时的设置的密码,这里是123456
输入点击,就可以了
登录进来后可以看到界面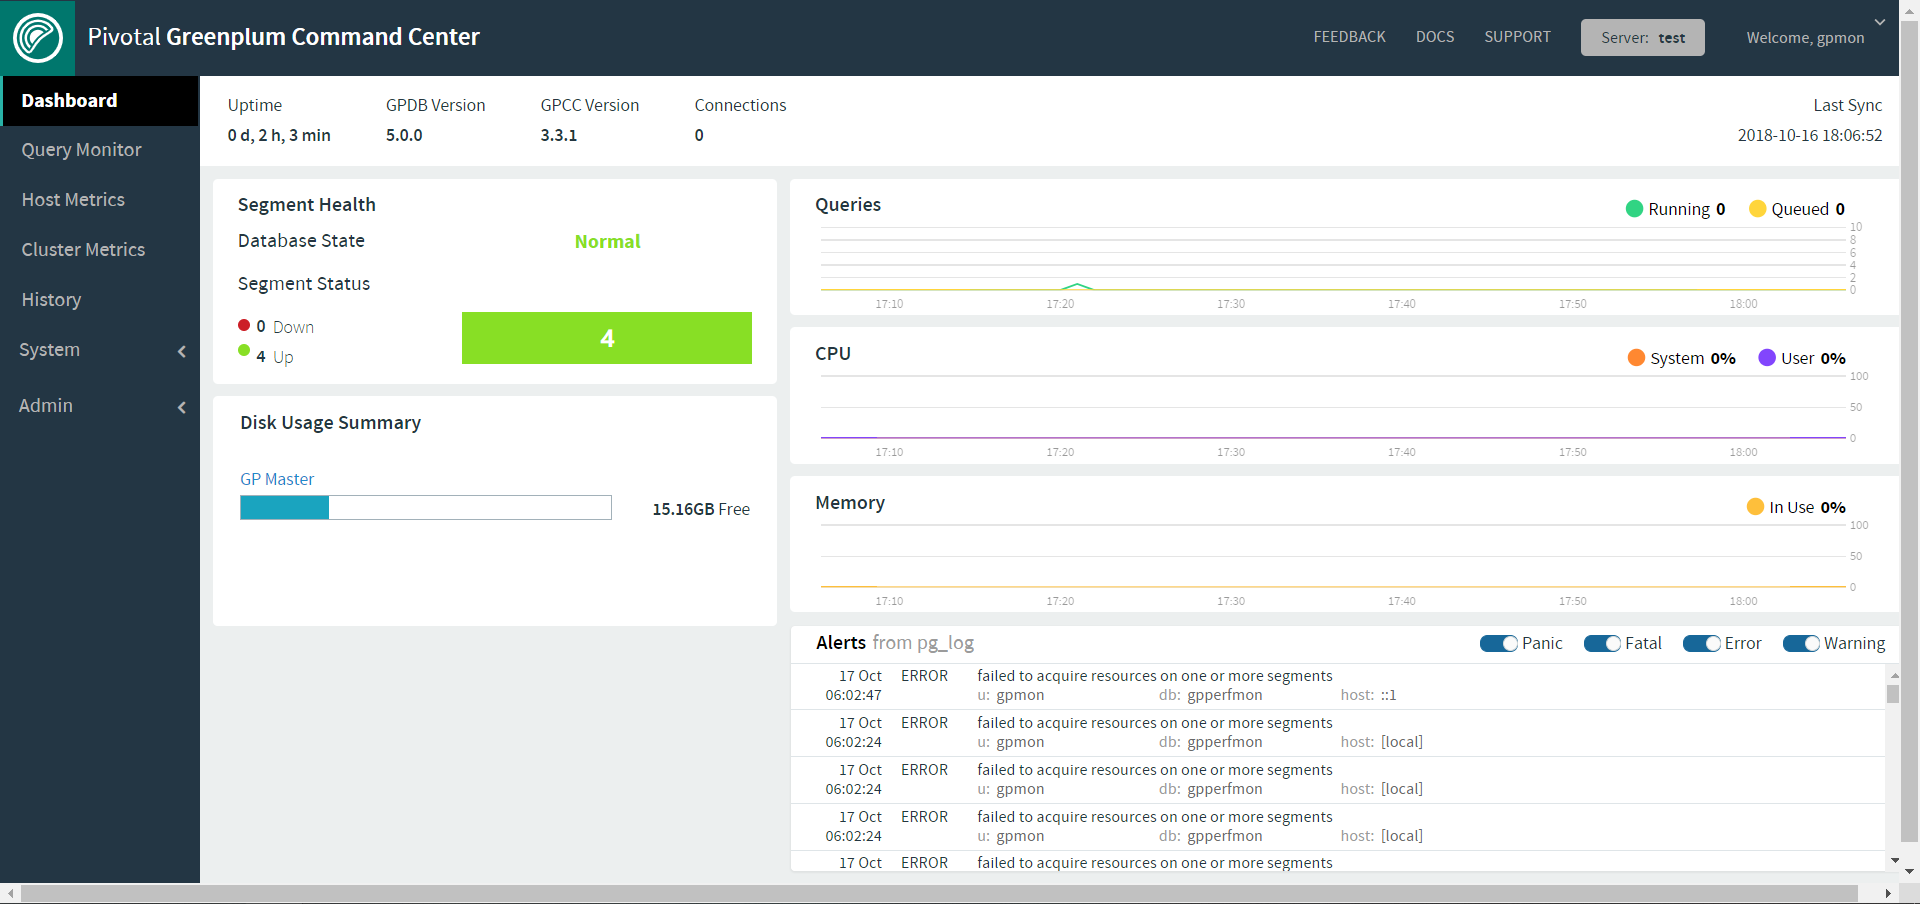
致此:
greenplum-cc-web安装完成
用户登录

- 1PostgreSQL新手指引 - 30 阅读
- 2PostgreSQL10~13版本以来的新特性史上最全总结 - 29 阅读
- 3查看PostgreSQL数据库进程占用内存的正确姿势 - 28 阅读
- 4一次修复PostgreSQL数据库的过程 - 20 阅读
- 5openGauss5.0与PostgreSQL数据库的全表扫描的性能对比 - 20 阅读
- 6如何做PostgreSQL、MySQL、Oracle数据库的对比测试 - 19 阅读
- 7CLup: 管理PostgreSQL、PolarDB等数据库的管理软件 - 18 阅读
- 8PostgreSQL14新特性:索引方面的增强 - 18 阅读
- 9PostgreSQL官方手册CHM格式下载链接(新增了PG14英文版) - 14 阅读
- 10在macos电脑上jdbc无法连接数据库而psql可以连接数据库的诡异问题的解决 - 14 阅读
- 1PostgreSQL新手指引 - 258 阅读
- 2PostgreSQL新手指引 - 258 阅读
- 3PostgreSQL新手指引 - 258 阅读
- 4PostgreSQL14新特性:索引方面的增强 - 180 阅读
- 5PostgreSQL14新特性:索引方面的增强 - 180 阅读
- 6PostgreSQL14新特性:索引方面的增强 - 180 阅读
- 7PostgreSQL10~13版本以来的新特性史上最全总结 - 179 阅读
- 8PostgreSQL10~13版本以来的新特性史上最全总结 - 179 阅读
- 9PostgreSQL10~13版本以来的新特性史上最全总结 - 179 阅读
- 10查看PostgreSQL数据库进程占用内存的正确姿势 - 173 阅读
- 1PostgreSQL新手指引 - 949 阅读
- 2PostgreSQL新手指引 - 949 阅读
- 3PostgreSQL新手指引 - 949 阅读
- 4PostgreSQL10~13版本以来的新特性史上最全总结 - 664 阅读
- 5PostgreSQL10~13版本以来的新特性史上最全总结 - 664 阅读
- 6PostgreSQL10~13版本以来的新特性史上最全总结 - 664 阅读
- 7PostgreSQL14新特性:索引方面的增强 - 631 阅读
- 8PostgreSQL14新特性:索引方面的增强 - 631 阅读
- 9PostgreSQL14新特性:索引方面的增强 - 631 阅读
- 10查看PostgreSQL数据库进程占用内存的正确姿势 - 616 阅读
评论加一
加个微信请教一下